


Growing potatoes in a planter is a simple and rewarding way to enjoy fresh, homegrown spuds, even if you have limited space. Whether you live in an apartment with a small balcony or a house with a tiny backyard, planters make potato gardening accessible. It covers everything you need to know about planting potatoes in a planter, from choosing the right container to harvesting your crop. Follow these steps to grow healthy potatoes and boost your gardening skills.
Why Grow Potatoes in a Planter?
Potatoes are a versatile crop that thrives in containers, making them ideal for small spaces. Planters offer several benefits:
-
Space-Saving: Perfect for patios, balconies, or small yards.
-
Control Over Soil: You can create the perfect soil mix for healthy growth.
-
Easy Harvesting: No digging in hard ground—simply tip the planter.
-
Pest Protection: Planters reduce exposure to soil-borne pests.
-
Portability: Move your planter to catch sunlight or avoid bad weather.
This method suits beginners and experienced gardeners alike. With the right setup, you can grow a bountiful potato harvest in a compact space.
What You Need to Get Started
Before planting, gather these supplies:
-
Seed Potatoes: Choose certified disease-free seed potatoes from a nursery or garden center.
-
Planter: A container at least 12-18 inches deep and 12-15 inches wide.
-
Soil: A mix of potting soil, compost, and sand for drainage.
-
Fertilizer: A balanced, slow-release fertilizer (10-10-10) or organic compost.
-
Watering Can or Hose: For consistent watering.
-
Trowel or Small Shovel: For planting and mixing soil.
Ensure your planter has drainage holes to prevent waterlogging, which can rot potatoes.
Step-by-Step Guide to Planting Potatoes in a Planter
1. Choose the Right Planter
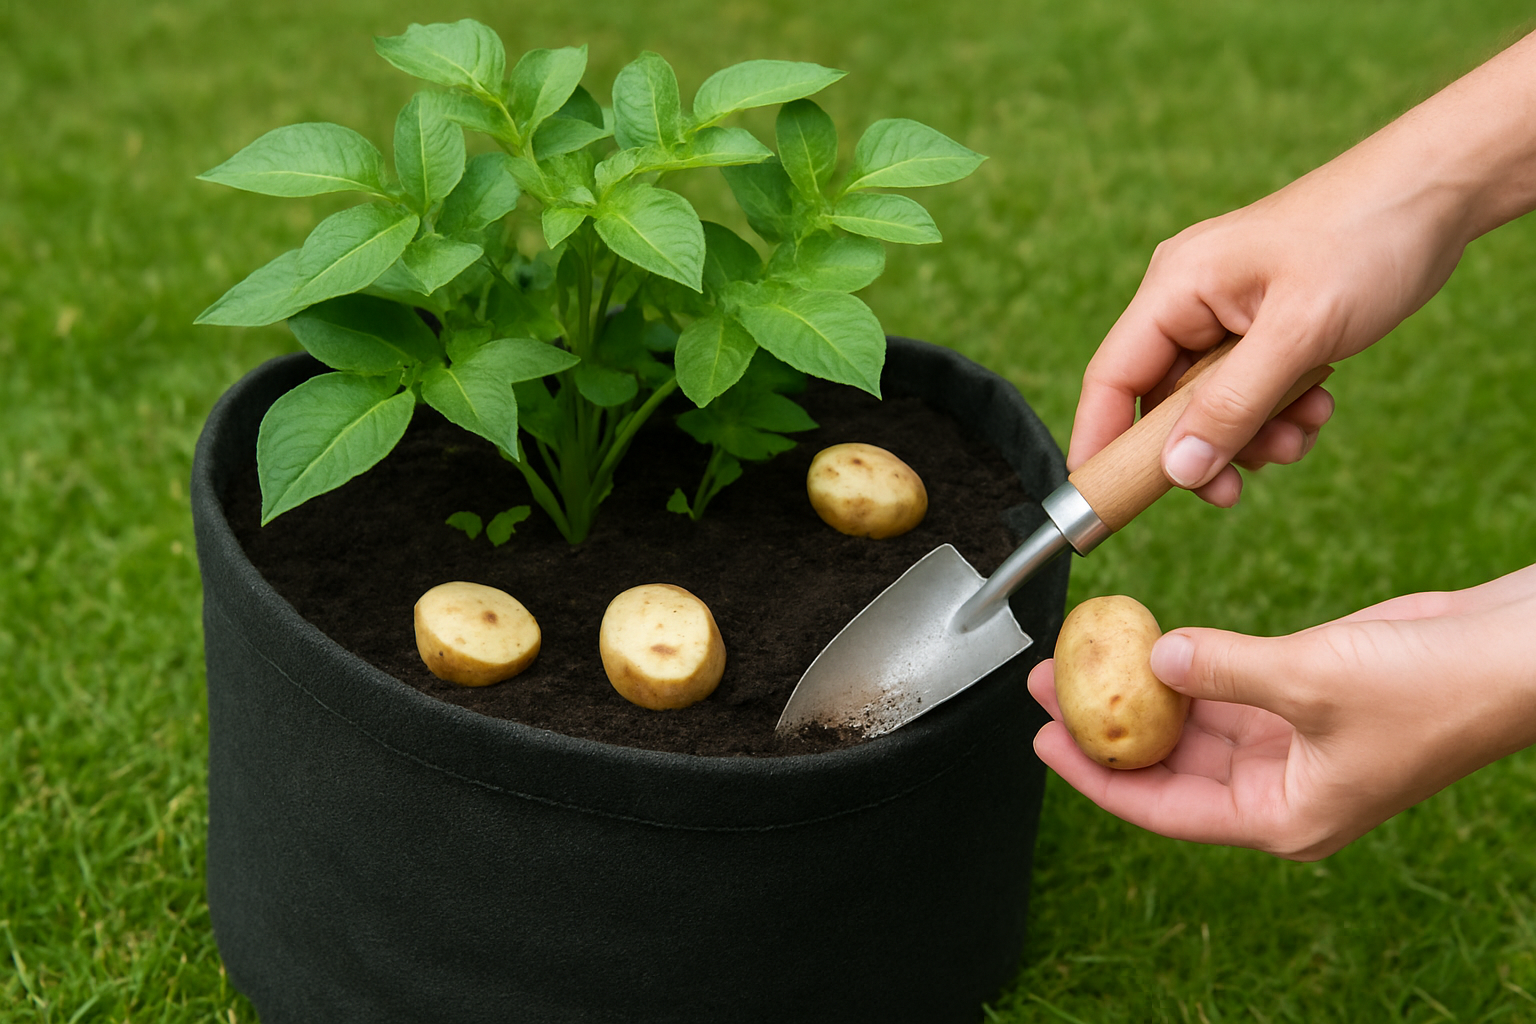
Select a planter that’s deep enough for potato roots and tubers to grow. A 5-gallon bucket, fabric grow bag, or large plastic pot works well. Ensure it has drainage holes to avoid soggy soil. Fabric grow bags are popular because they promote air circulation and prevent root circling.
2. Prepare Seed Potatoes
Buy certified seed potatoes to avoid disease. Cut large seed potatoes into pieces, ensuring each piece has at least one or two “eyes” (sprouts). Let the cut pieces dry for 1-2 days to form a protective layer, reducing the risk of rot. Small seed potatoes can be planted whole.
3. Create the Perfect Soil Mix
Potatoes need loose, well-draining soil with a pH of 5.5-6.5. Mix:
-
50% potting soil
-
30% compost
-
20% sand or perlite
This blend ensures good drainage and nutrient availability. Add a handful of slow-release fertilizer to the mix for steady nutrition.
4. Plant the Seed Potatoes
Place 4-6 inches of soil mix in the planter’s bottom. Set 2-3 seed potato pieces, eyes facing up, about 6 inches apart. Cover them with 3-4 inches of soil. Water gently to settle the soil without compacting it. As the potato plants grow, you’ll add more soil (called “hilling”) to encourage tuber formation.
5. Water and Care for Your Plants
Keep the soil consistently moist but not waterlogged. Water when the top inch of soil feels dry. Potatoes need about 1-2 inches of water per week, depending on weather. Place the planter in a spot with 6-8 hours of sunlight daily. If temperatures exceed 80°F, move the planter to partial shade to prevent heat stress.
6. Hill the Potatoes
When potato plants reach 6-8 inches tall, add more soil mix to cover all but the top leaves. Repeat this hilling process every 2-3 weeks as the plants grow. Hilling prevents tubers from turning green and toxic by keeping them covered. Stop hilling when the planter is nearly full.
7. Monitor for Pests and Diseases
Check plants regularly for pests like potato beetles or signs of disease like blight. Remove beetles by hand and destroy them. If you spot yellowing leaves or dark spots, remove affected foliage and ensure good air circulation. Using clean, disease-free seed potatoes reduces these risks.
8. Harvest Your Potatoes
Potatoes are ready to harvest when the foliage yellows and dies back, usually 10-12 weeks after planting. For new potatoes, harvest earlier when plants start flowering. Tip the planter onto a tarp or dig gently with a trowel to collect tubers. Brush off dirt but don’t wash until ready to use to extend storage life.
Tips for Success
-
Choose the Right Variety: Early varieties like Yukon Gold or Red Pontiac are great for planters.
-
Rotate Crops: If reusing the planter, avoid planting potatoes in the same soil next season to prevent disease buildup.
-
Fertilize Sparingly: Over-fertilizing can lead to lush foliage but fewer tubers.
-
Store Properly: Keep harvested potatoes in a cool, dark, dry place to prevent sprouting.
Conclusion
Planting potatoes in a planter is an easy and fun way to grow your own food, even in small spaces. By choosing the right planter, preparing seed potatoes, and following proper care steps, you can enjoy a healthy harvest of fresh spuds. With this guide, you’re ready to start your potato-growing journey. Grab your supplies, plant those tubers, and savor the taste of homegrown potatoes!
FAQs
How many potatoes can I grow in a planter?
A 5-gallon planter can yield 5-10 potatoes, depending on the variety and care. Larger planters or grow bags may produce more.
When is the best time to plant potatoes in a planter?
Plant in early spring, after the last frost, when soil temperatures reach 45°F. For fall crops, plant in late summer in cooler climates.
Can I reuse the soil after harvesting potatoes?
It’s best not to reuse soil for potatoes to avoid disease. Use it for other crops like herbs or flowers, or refresh with new compost.
Do potatoes need full sun in a planter?
Yes, potatoes need 6-8 hours of sunlight daily for healthy growth. Partial shade is okay in very hot climates.


